|
The third post in a 6-part series about trip planning. For an overview of the complete series, please visit the Trip Planning 101 page.
Whew, what happened to this series? A recent reader comment reminded me that I still hadn't finished it! On the bright side, the trip planning spreadsheet is going strong, with 7 more complicated trips under its belt! That convinced me that it's definitely worth sharing, so let's continue with the series! This post takes us through the second tab of the Best Trip Planning Spreadsheet Ever. Now that we've successfully put our dreams on (digital) paper, it's time to start outlining our itinerary. Read on for tips about how to organize all your great ideas into a fun, affordable, and logical itinerary. |
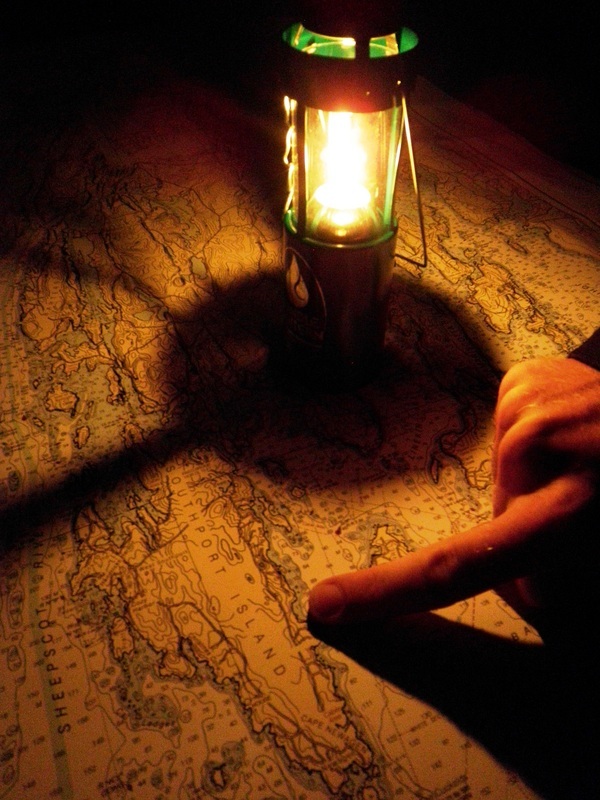
Planning our kayaking route around Southport Island, Maine, back in July 2010
|
1. Set up your itinerary tab
The Itinerary tab is organized by date, with each row representing one day of your trip. The columns contain various information about what you're planning for that day.
Recommended columns:
Sometimes-handy columns:
Fun tips...
Recommended columns:
- Date/Day of Week - Self explanatory. Day of Week is handy to know whether or not stores will be open. It's also a good idea to check for major holidays, if you're visiting another country. We accidentally planned our pre-backpacking grocery shopping on National Day in Switzerland last summer. Oops.
- Activities/Journey - These can be together or separate. For shorter trips, where the activities are planned a bit more in detail, I have these as separate columns. Activities are things you do during the day while Journey describes the distance you're planning to cover (e.g. if you're driving, flying, or, backpacking). Journey can also be split into Starting and Ending Location columns if you want to get really organized.
- Proposed Changes - When you share a draft itinerary with co-travelers, this is where you can have a dialog about potential changes (questions, suggestions, etc.). Once everyone agrees to implement a change, you can move it over into the Activities/Journey column and clear out the Proposed Changes. For simpler trips (e.g. smaller group or shorter duration), I tend to skip this column and just use the Notes column (see below).
- Where do we sleep? - A simple description of where you plan to spend the night. The details (e.g. address, host contact info, cost) are kept on a separate Lodging tab, to debut in a later post (though, for simple/short trips, I also include that info here). I color this column based on how certain the lodging is. If I don't know where I'm spending the night, I'll sometimes just write the city name and shade it red. If I've picked a hotel/Airbnb or know a host, I'll make it yellow. If I've reserved a hotel/Airbnb/campground then it's green. This is a quick way to visualize the planning status (even if your plan is "sleep on a park bench" or "find a couchsurfing host when we arrive").
- Notes/Links - Relevant links for potential activities, opening times, entry fees. Sometimes I like to keep a separate Notes and Links column, since links in Google Spreadsheets are only active (i.e. you can click on them) if there is nothing else written in the cell.
Sometimes-handy columns:
- Day # - Fun if you're journaling/meandering and keeping track of how long you've been gone.
- Who?/Buddies - Names of people who will be involved in each day of the trip. This is handy when you're visiting people or the traveler group is constantly evolving over the course of the trip. Important if you need to make overnight reservations based on # of people.
- Driving/paddling/hiking hours and/or Distance and/or Elevation change - Various travel metrics. Forces you to check driving distances/times so you make sure you're not setting yourself up to drive 16 hours one day :). Also handy for estimating fuel costs. I also think it's fun to know the totals.
- Shower? - Presence of a shower at destination. Ha, I see that I had this as a column during one cross-country roadtrip where we were living out of a tent and thoroughly on-the-cheap. I think our requirement was 1 shower per week...
Fun tips...
- I like to put the names of the columns in the language of the country I'm visiting!
2. Pick (approximate) departure/arrival dates
Before you can start filling in your itinerary, you'll need to do is figure out dates. This is simpler if you're limited by vacation days, school breaks, holidays, or other peoples' schedules. If you're traveling with multiple people, I'd recommend either a meeting (virtual/in person) or Doodle to pin down dates. Sending a bunch of emails also works - it's just a bit less efficient.
3. Fill in your itinerary!
Once you have the dates more or less figured out (to within a few days), you can start setting up your Itinerary tab.
- Add the potential date range in the Day/Date columns.
- Add anything that is fixed in time, like arrival/departure days if you already have transport tickets, host/friend availability, hiking permit dates, events, fixed start/end locations, holidays or events that might affect opening hours/lodging availability in the places you're planning to visit.
- If your trip involves traveling long distances (i.e. sleeping in many different places), look at your Brain Dump tab and start piecing together the most logical order of events. For road trips, Google Maps is your friend. Add all your destinations to the Directions function, and reorder them until the total time is minimized (unless you are constrained by fixed dates identified previously). For longer trips, I've sometimes based the route on best climate (e.g. when are the peak fall colors in upstate New York) or peak tourist season avoidance (failed on that front in the Mediterranean coast last summer...). The result of this step is that the "Where do we sleep?" column is filled in with general locations (e.g. city/region names).
- Add anything that is semi-fixed in time, like activities that can only be done at certain times or days of the week.
- Leave it there, or add more detail. If you're taking a short trip, you might add more details (e.g. a restaurant or museum you want to visit, a hike you're planning). But if it's a long trip, I usually make a less detailed schedule that allows me to be more flexible on the day-of, but not run into problems with places being closed, etc.
4. Bonus: use it as a journal
On many occasions I've had friends ask me to share my past trip spreadsheets for inspiration in their own trip planning. I dig out my old spreadsheets and realize that the plans that were listed are different from (or simply do not cover) what we ended up doing. Therefore, I sometimes use the spreadsheet after the trip to document what we did do -- e.g. noting the restaurant we really enjoyed, interesting sites we accidentally encountered, people we met. For those of you who already journal your trips - nice work! My hands and my patience are not cut out for writing at the end of each travel day. My friend Sara meticulously keeps a written journal on each trip she goes on, so I sometimes ask her to remind me about things we did.
Example: Making Your Itinerary
The example below (best viewed on a laptop/desktop computer) is a shortened version of a Eurotrip that I took a year ago (summer 2015). We covered 9 countries over 3 months. The example is from the 2-week Spain portion of the trip (northern Spain is awesome, by the way!).
 RSS Feed

